The quickest way to lose readers is to not post. Unfortunately, most of us have lives away from the keyboard, and often, life can interfere with our regular blogging program.
Luckily, with a tool like Windows Live Writer, you can prepare your content ahead of time, and then schedule your blog posts to post at regular intervals.
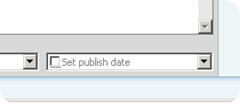
To schedule a blog post using WLW, prepare your content, and then click on the Set publish date option in the bottom right hand corner of the post window.

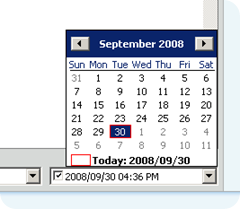
A calendar will pop up, allowing you to choose the desired publish date.

You can also change the publish time by typing into this field. You can now click publish.
WLW will, by default, open your blog page in your default browser after posting. You will notice that your scheduled post does not appear, as it usually does, at the top of your blog.
If you use Blogger as your blogging platform, you will now need to log into the dashboard. Click on Edit Posts.

You should now see a list of all your published posts, as well as your scheduled post.

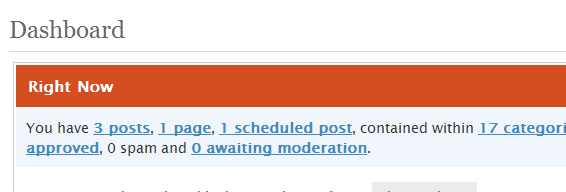
If you have a Wordpress blog, log into the WP dashboard. You should see something that looks like this, including the n scheduled post item:

Happy blogging!

1 comment:
You rock girlness.
Post a Comment